More Butterfly split negatives
I tell you, I just can't get enough of this split negative technique. This Seraphim wings stamp from Unity stamp co. just works so well with this technique.
stamp/supplies used:
Unity Seraphim wings,
Catherine Pooler inks
Instructions:
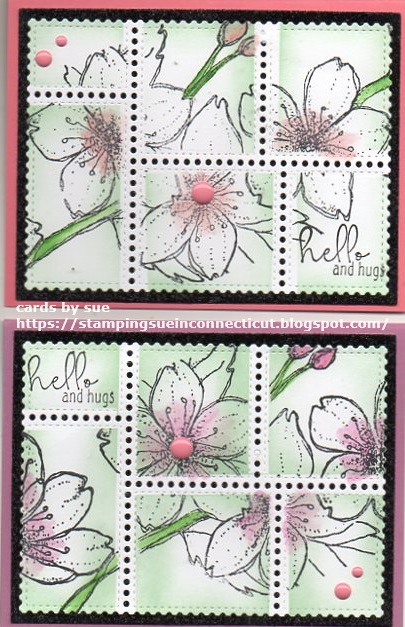
1. Cut one piece of white cardstock and one piece of colored cardstock the same size.
2. Place cardstock in Misti stamping positioner. Stamp butterfly with color inks on white cardstock. On colored cardstock use tone on tone color.
3. Cut each stamped butterfly cards in half or a bit more or less. You will have two pieces of stamped white card, and colored stamped card.
4. Add glue to a scrap piece of cardstock, then glue one of the pieces of cards with butterfly to half of it. Match up the opposite butterfly to the one that is glued to the scrap piece of cardstock. You should have a white card, and a colored card together to form the split negative image.
5. Next what I like to do is die cut out the split negative butterfly with a die shape. In this case I used Unity stamp co. deckle edge rectangles die set.
6. Adhere split negative piece to A2 card.
As you can see I cannot stop making this type of card. Maybe I should find another image. What do you think?I will be entering this card into Unity stamp co. challenge
Thank you for stopping by. Come back soon.